Manual 3 - Create a Form

Video Tutorial:
Enter the web panel (app.eskuad.com). The first page you see will be the “Forms” tabs, as shown on the menu on the left.
To create a new form click “+ Create New” button
.png)
Create Form in Web Panel
- Title and Geolocation
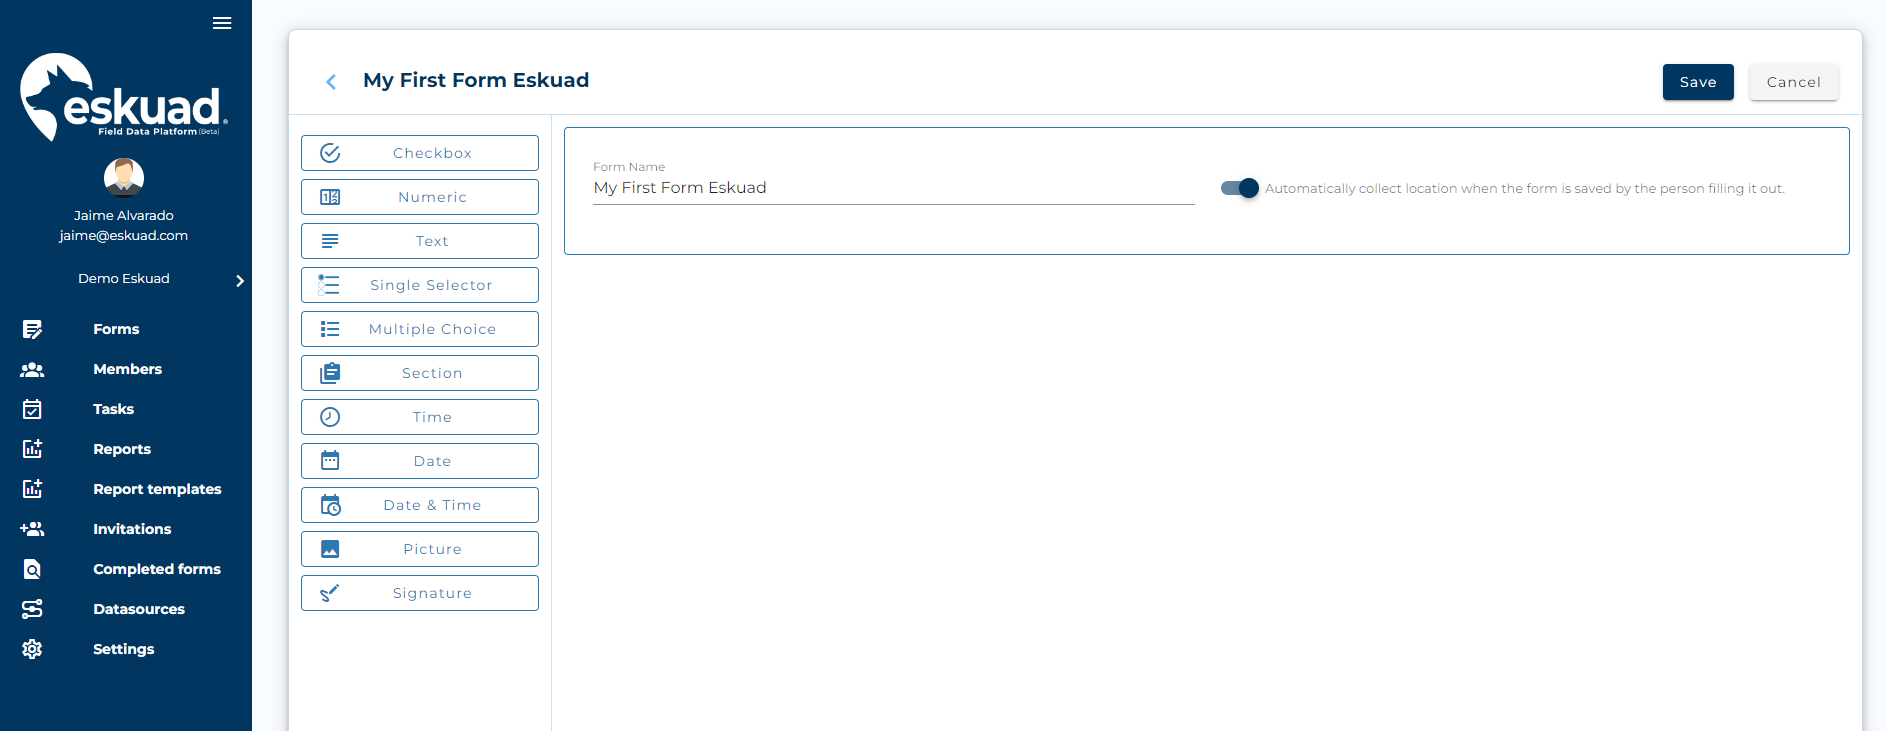
- When creating a form the first step is toName the form to identify it quickly and easily by your other squad members.
-
- There is also an option to select geolocation. With this, each time the user starts the form, it will inform them that it will collect the coordinates where the data is entered..
- Add Fields
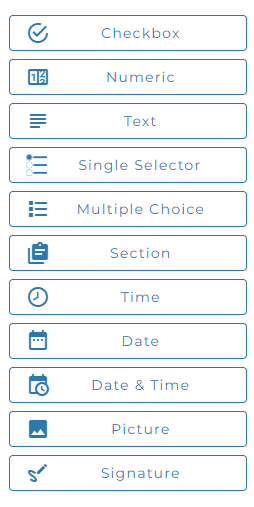
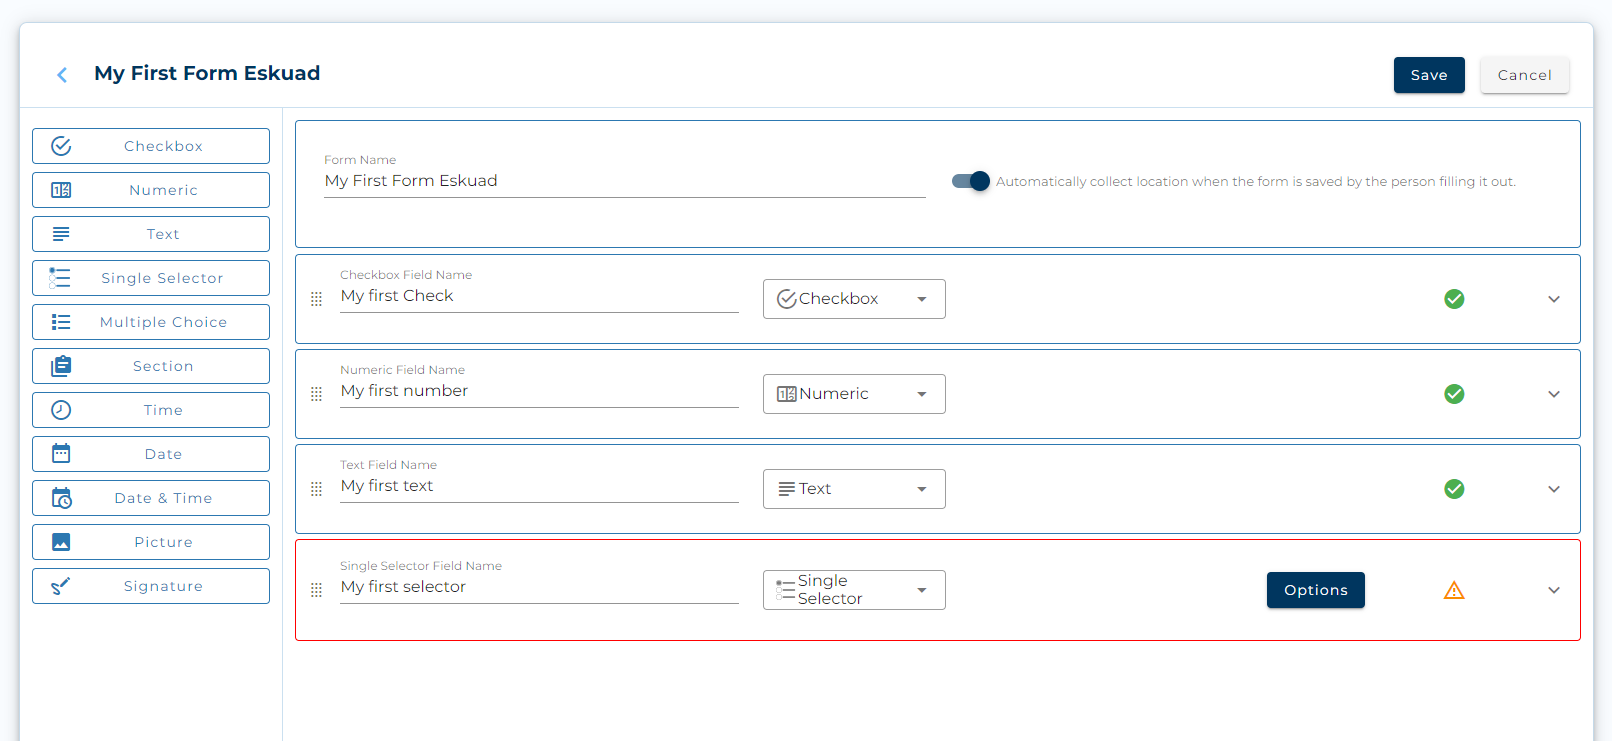
- Next is to add the “Fields” that will go on your form.
- Each field can be chosen based on your specific needs. You can choose to order in any way you please.
Field Definitions
- Text
- The “Text’’ option is a generic “Field” that will allow you to write any data in the form freely. Selecting it will automatically open the device’s keyboard; It is ideal for writing observations, findings, comments, descriptions etc.
- Numérico
- The “Numeric’’ option is a generic “Field” that will allow you to write only Numeric data in the form; selecting it will automatically open the numeric keyboard of the device, it is ideal for reporting hours, quantities, weights and measurements etc.
- Checkbox
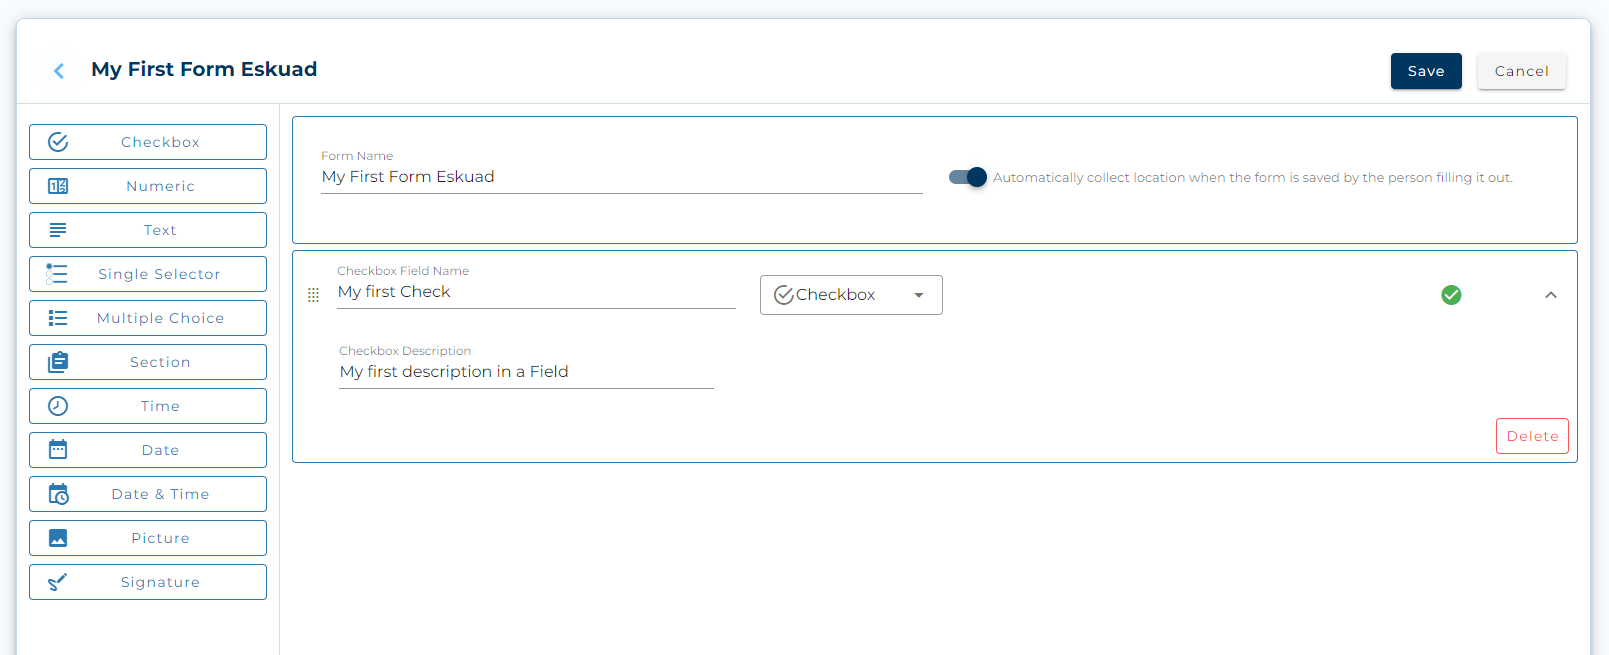
- The “Checkbox” option is a “field” that allows you to quickly mark/confirm or verify some data, it is ideal for maintenance, inventory checks etc.
- Single Selector
- The “Selector” option, is a “field” that allows users to choose one of a few preselected options that you can input. These options can be entered manually or by database
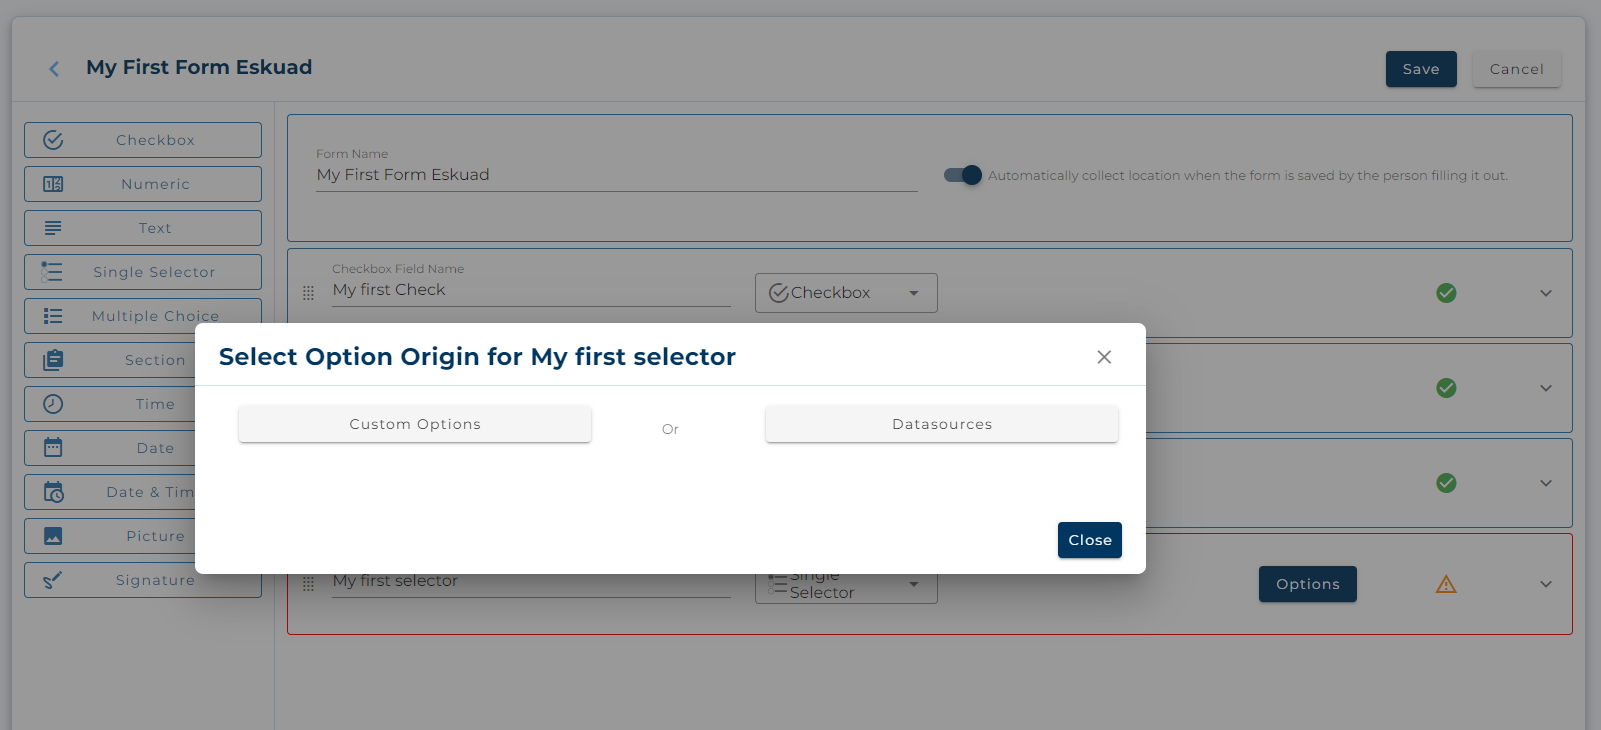
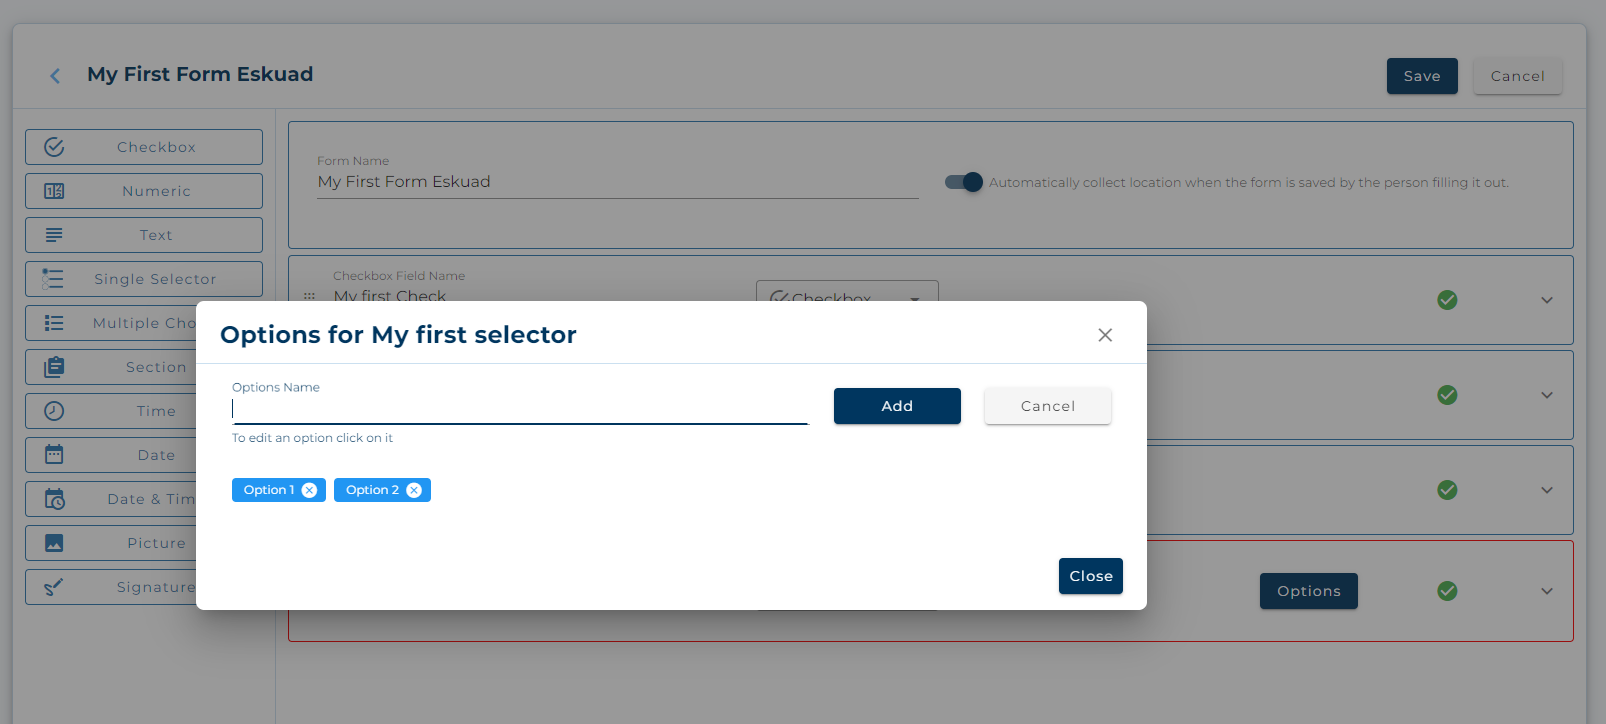
Custom Options
- Multiple Choice
- The “Multiple Choice” option, as its name indicates, is a “field” that allows you to choose multiple options, unlike the “single selector”, these entries can be manual or by database (see the “datasources” manual)
- “Date and Time”
- The “Date and Time” option is a field that allows you to choose the day, month, year and time, both the general date and the time can be placed individually or jointly on the form.
- Picture
- The “Picture” option is a “field” that allows you to take a photograph, either directly from the application or to be able to search for it in the gallery , this will allow your forms to always have visual backups of the work being done..
- Signature
- The “Signature” option is a “field” that allows, as its name indicates, to perform a signature backup, either from the user who uses the application or from another person who must validate the work, such as a supervisor, client , equipment, among others
- Section
- The “Section” option is a “field” that allows you to separate your forms into different areas, each with its own fields. It is ideal for separating information with large various forms of data to enter.
- When you create a section you can enable the “Repeatable” option that allows you to clone/duplicate all the fields you create within this section, so once inside the application a button will appear inside the section that says “repeat”. This is ideal for repetitive workflows.”
Order Fields:
When you create the “fields” in your form, you can drag them to the position you want and what suits you and your squad. Left click, hold and move / drag.
Save form:
Either when you completely finish creating a form or during its creation, you can save all the progress by pressing the “Save” button at the top right.

Edit:
Once a form is created in the main tab, all the created forms will appear and you can edit them at any time, being able to delete, add, move fields , edit titles, add options to selectors, etc at any time.
Delete:
Once a form is created in the main tab, all the created forms will appear and you can delete them, so they will no longer appear in the application and cannot be used to create reports. This does not mean that the data created based on that form has been deleted.

Clone
Once a form is created in the main tab, all the forms created will appear and you can clone them at any time. A copy will be created with the same fields created, this is ideal for creating forms similar in content and structure, but which also have differentiating changes, whether by area, user, machine, etc.
Create a Form in the App:
Inside the app select “+Form”
- Title and Geolocation
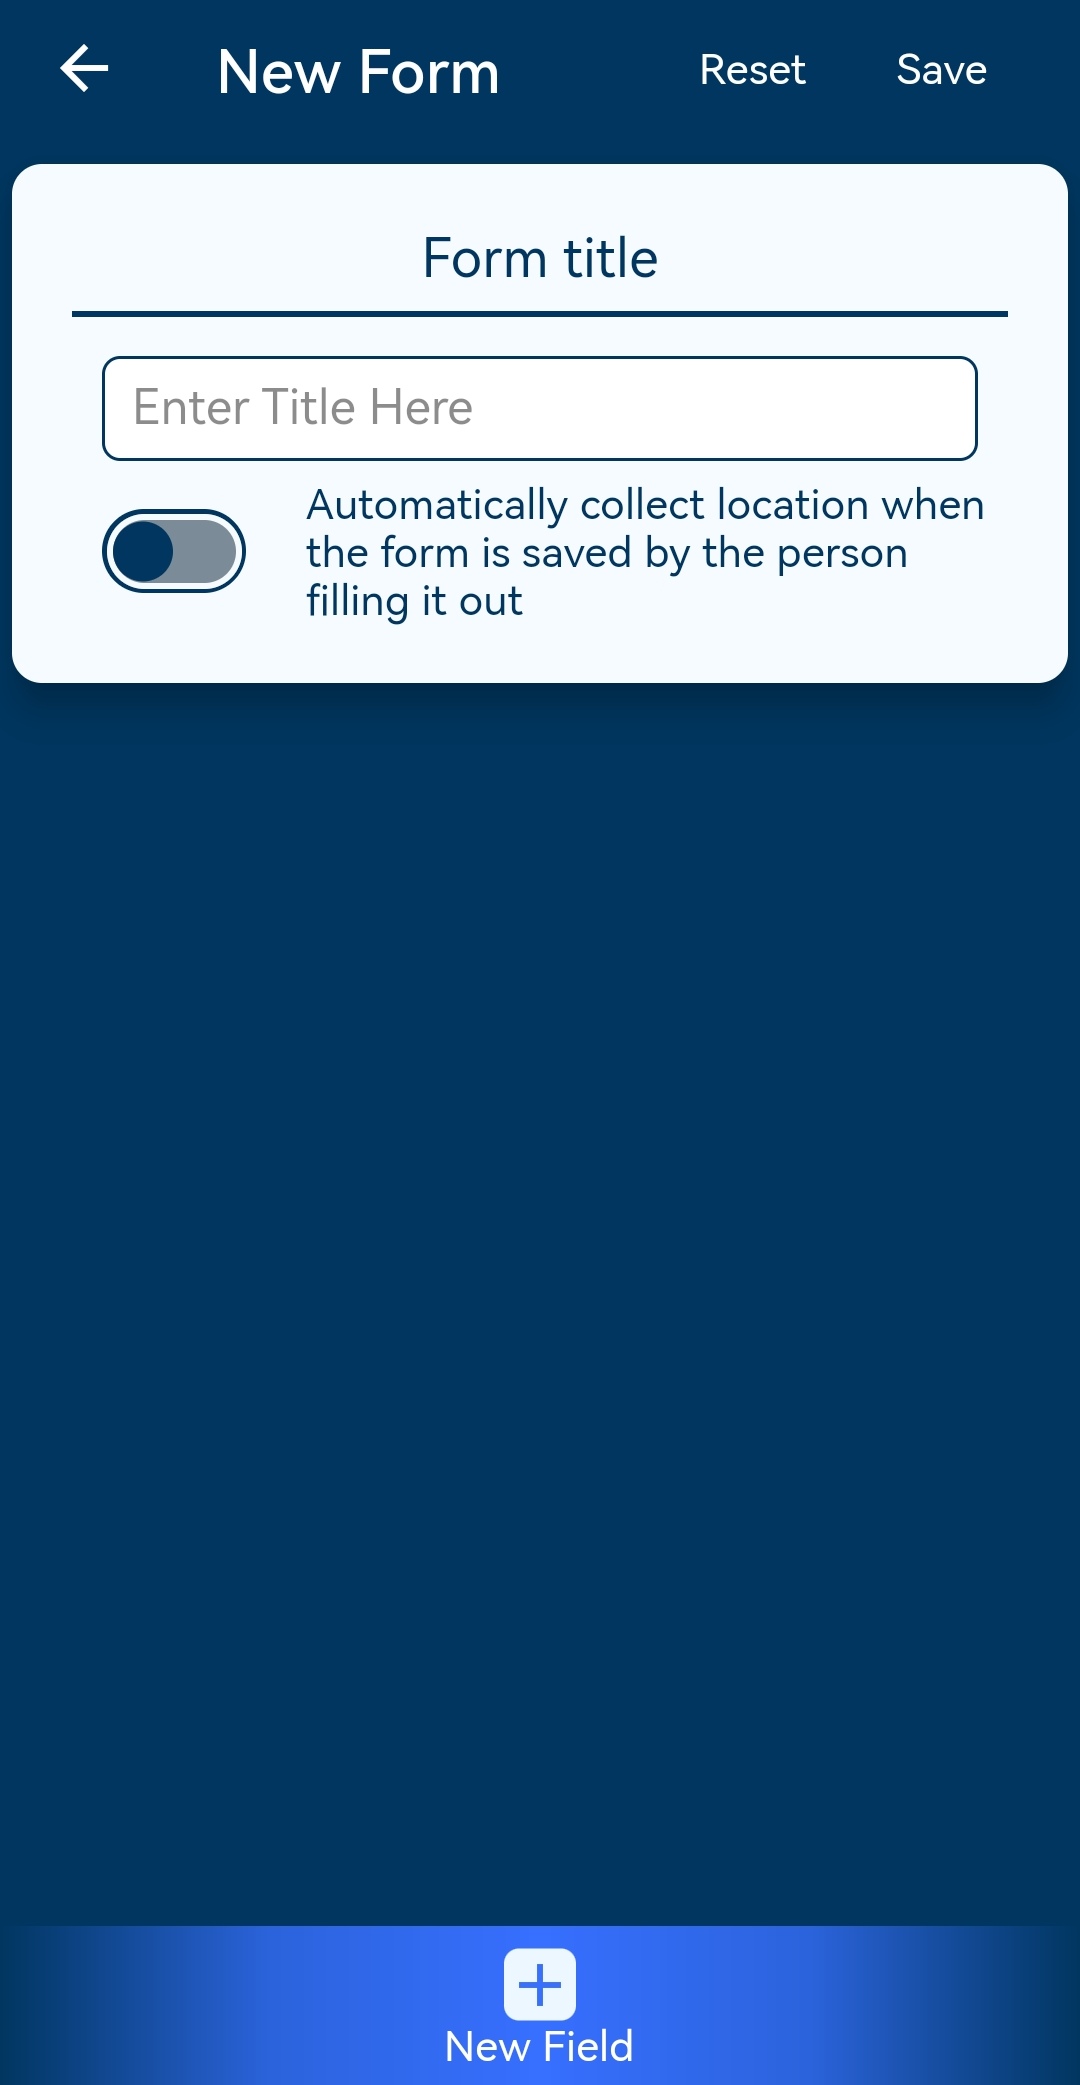
Click “New Field” to add a new field
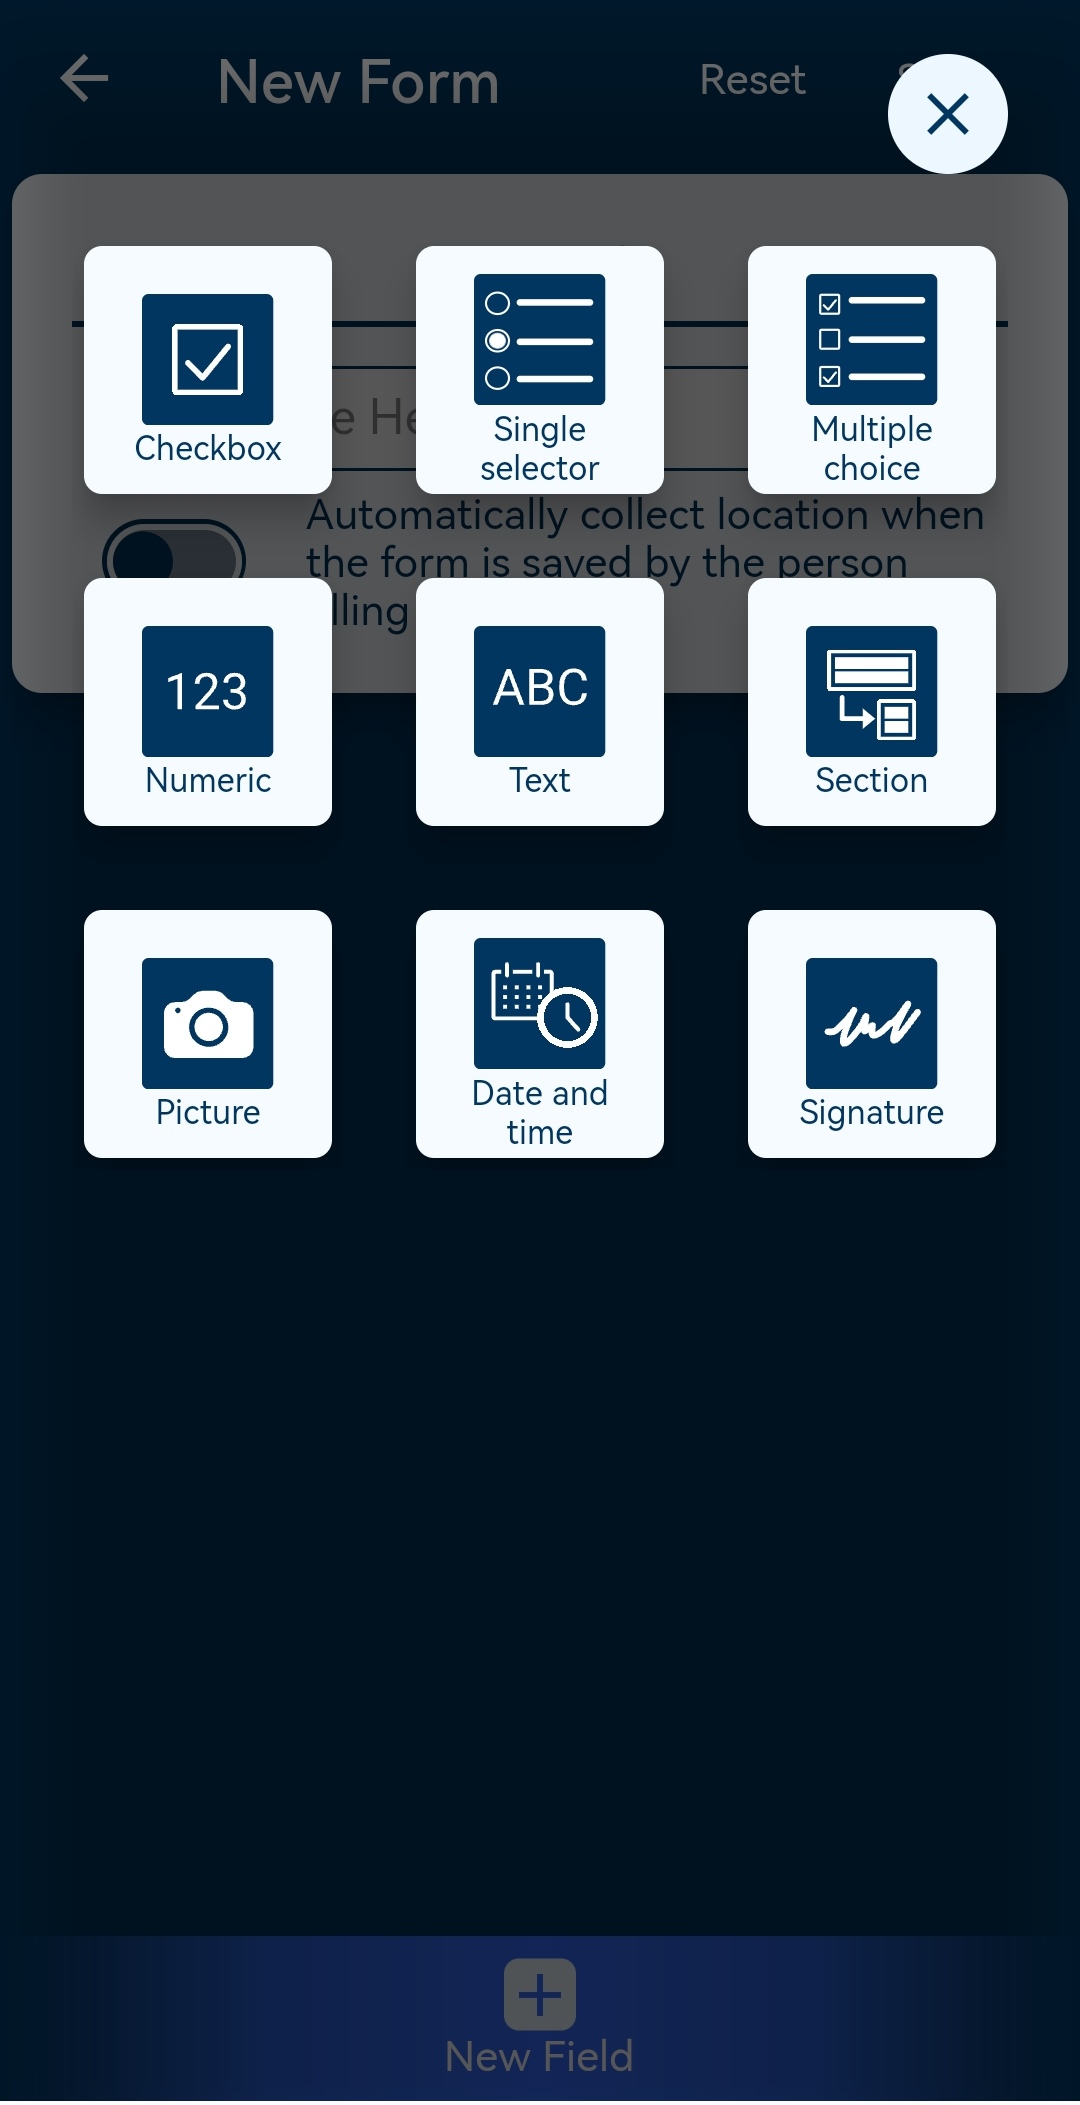
Select from the list of fields. See above for field definitions.
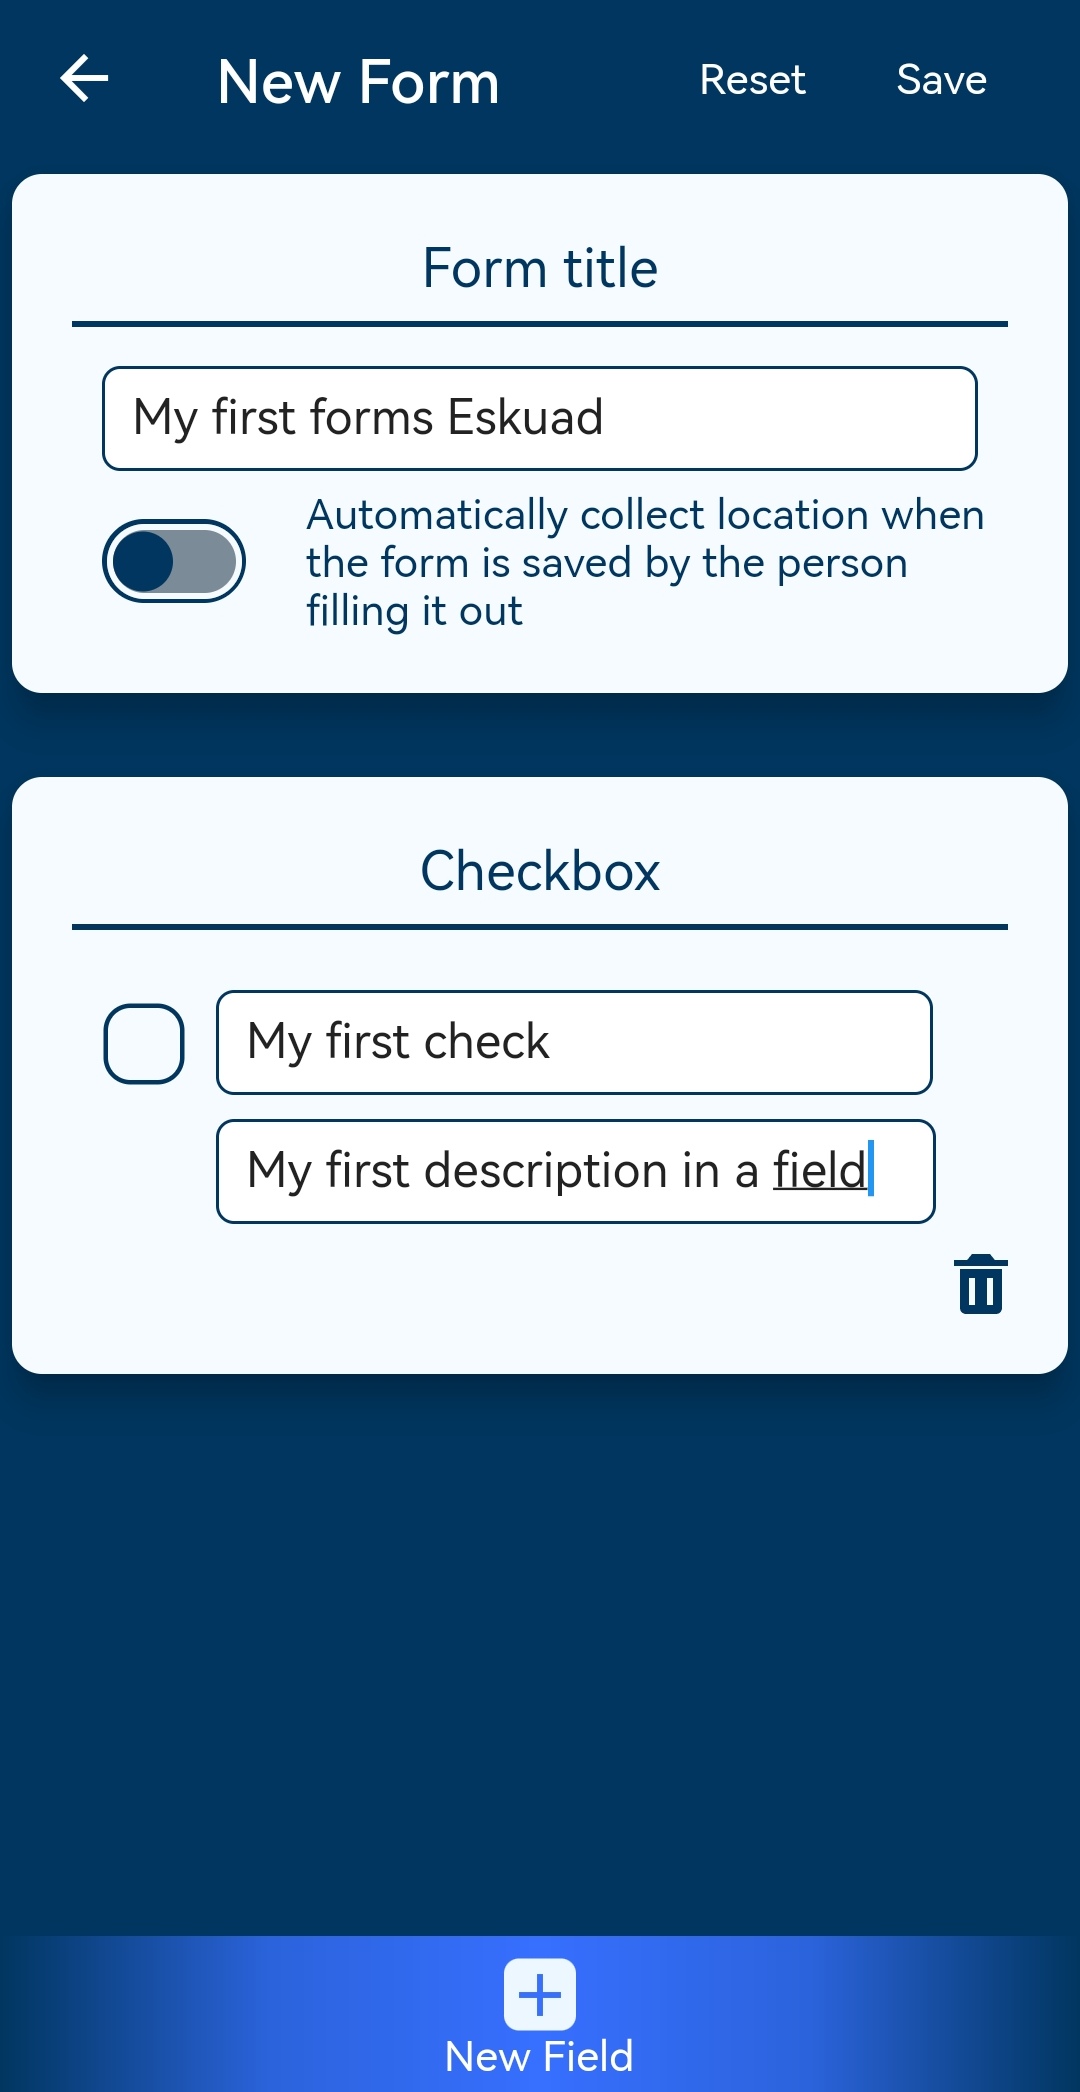
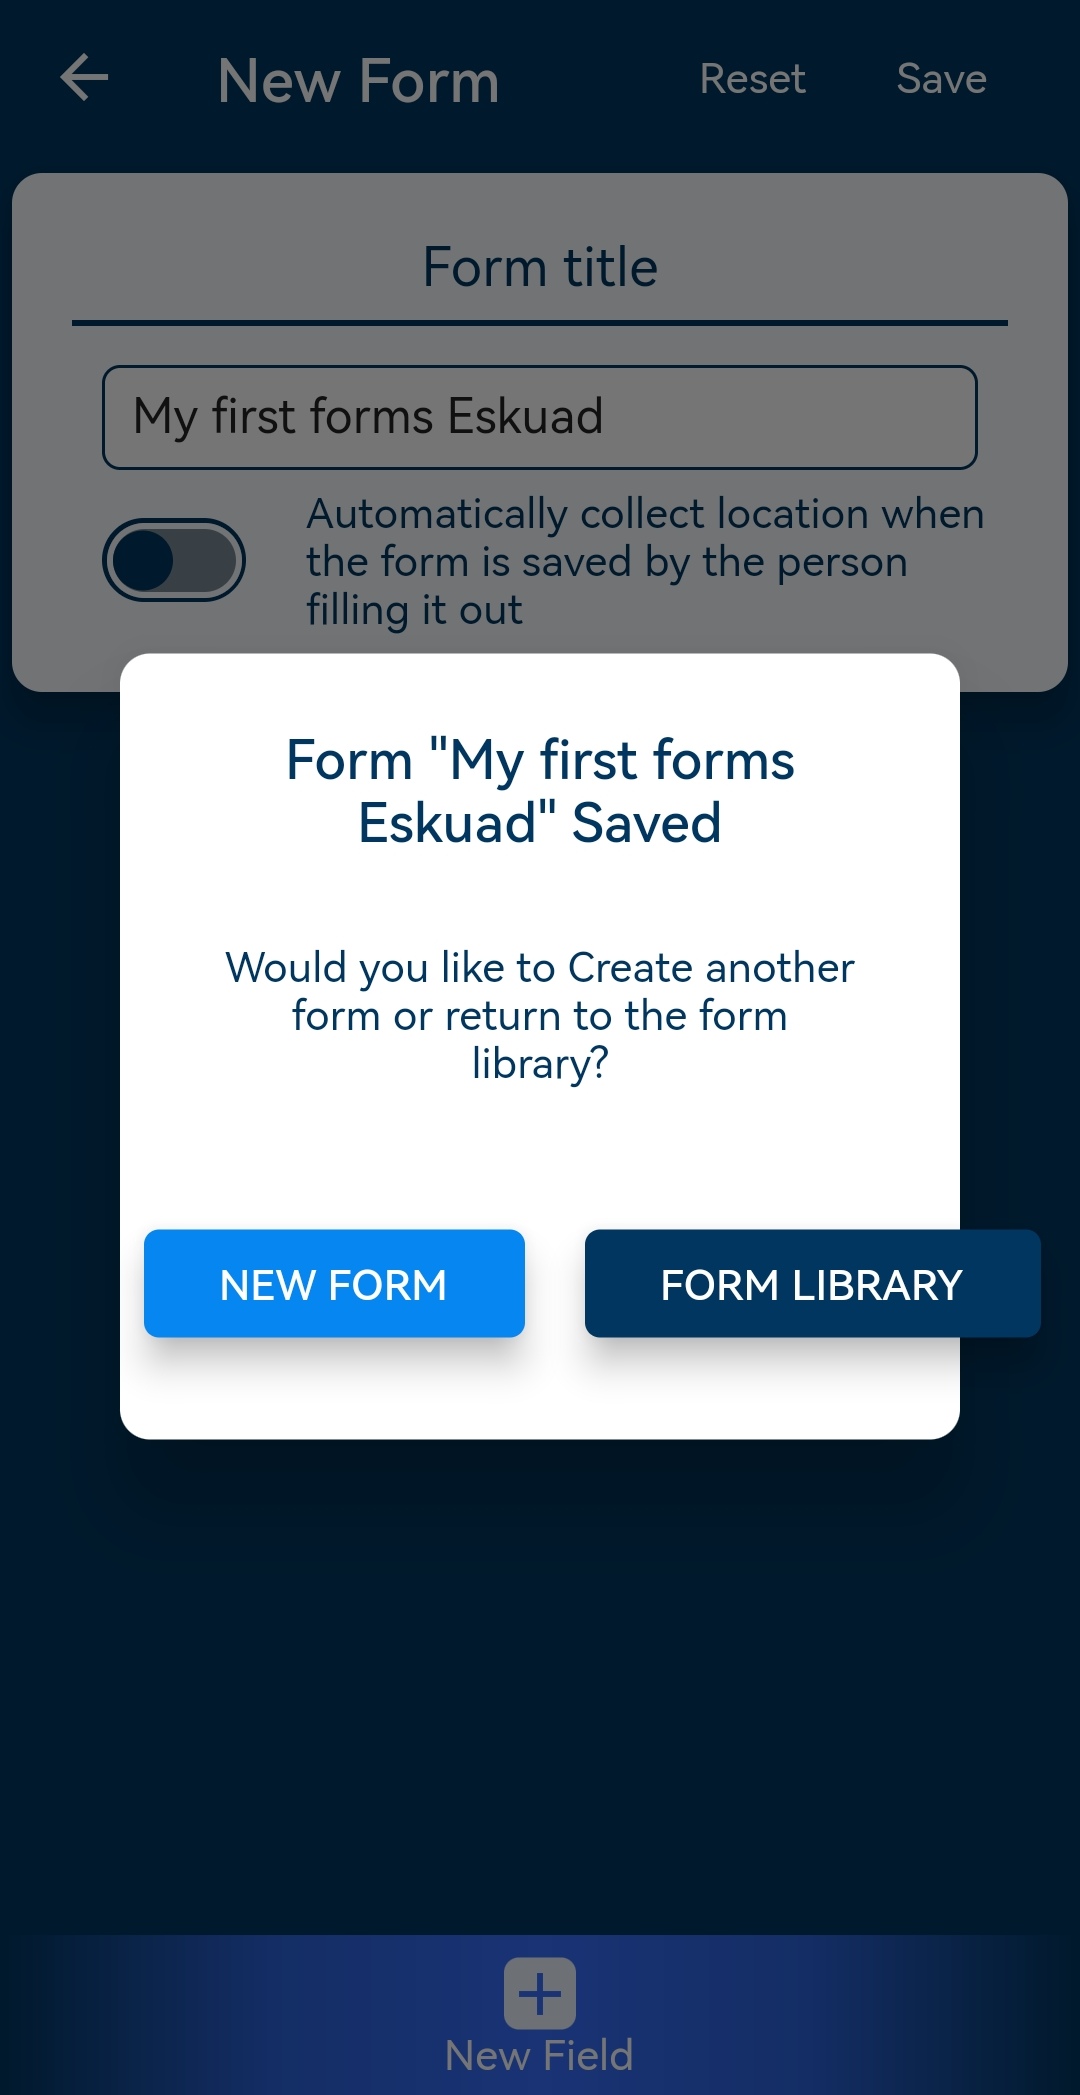
You can save forms as necessary.
You can then either create a new form and return to the form library.
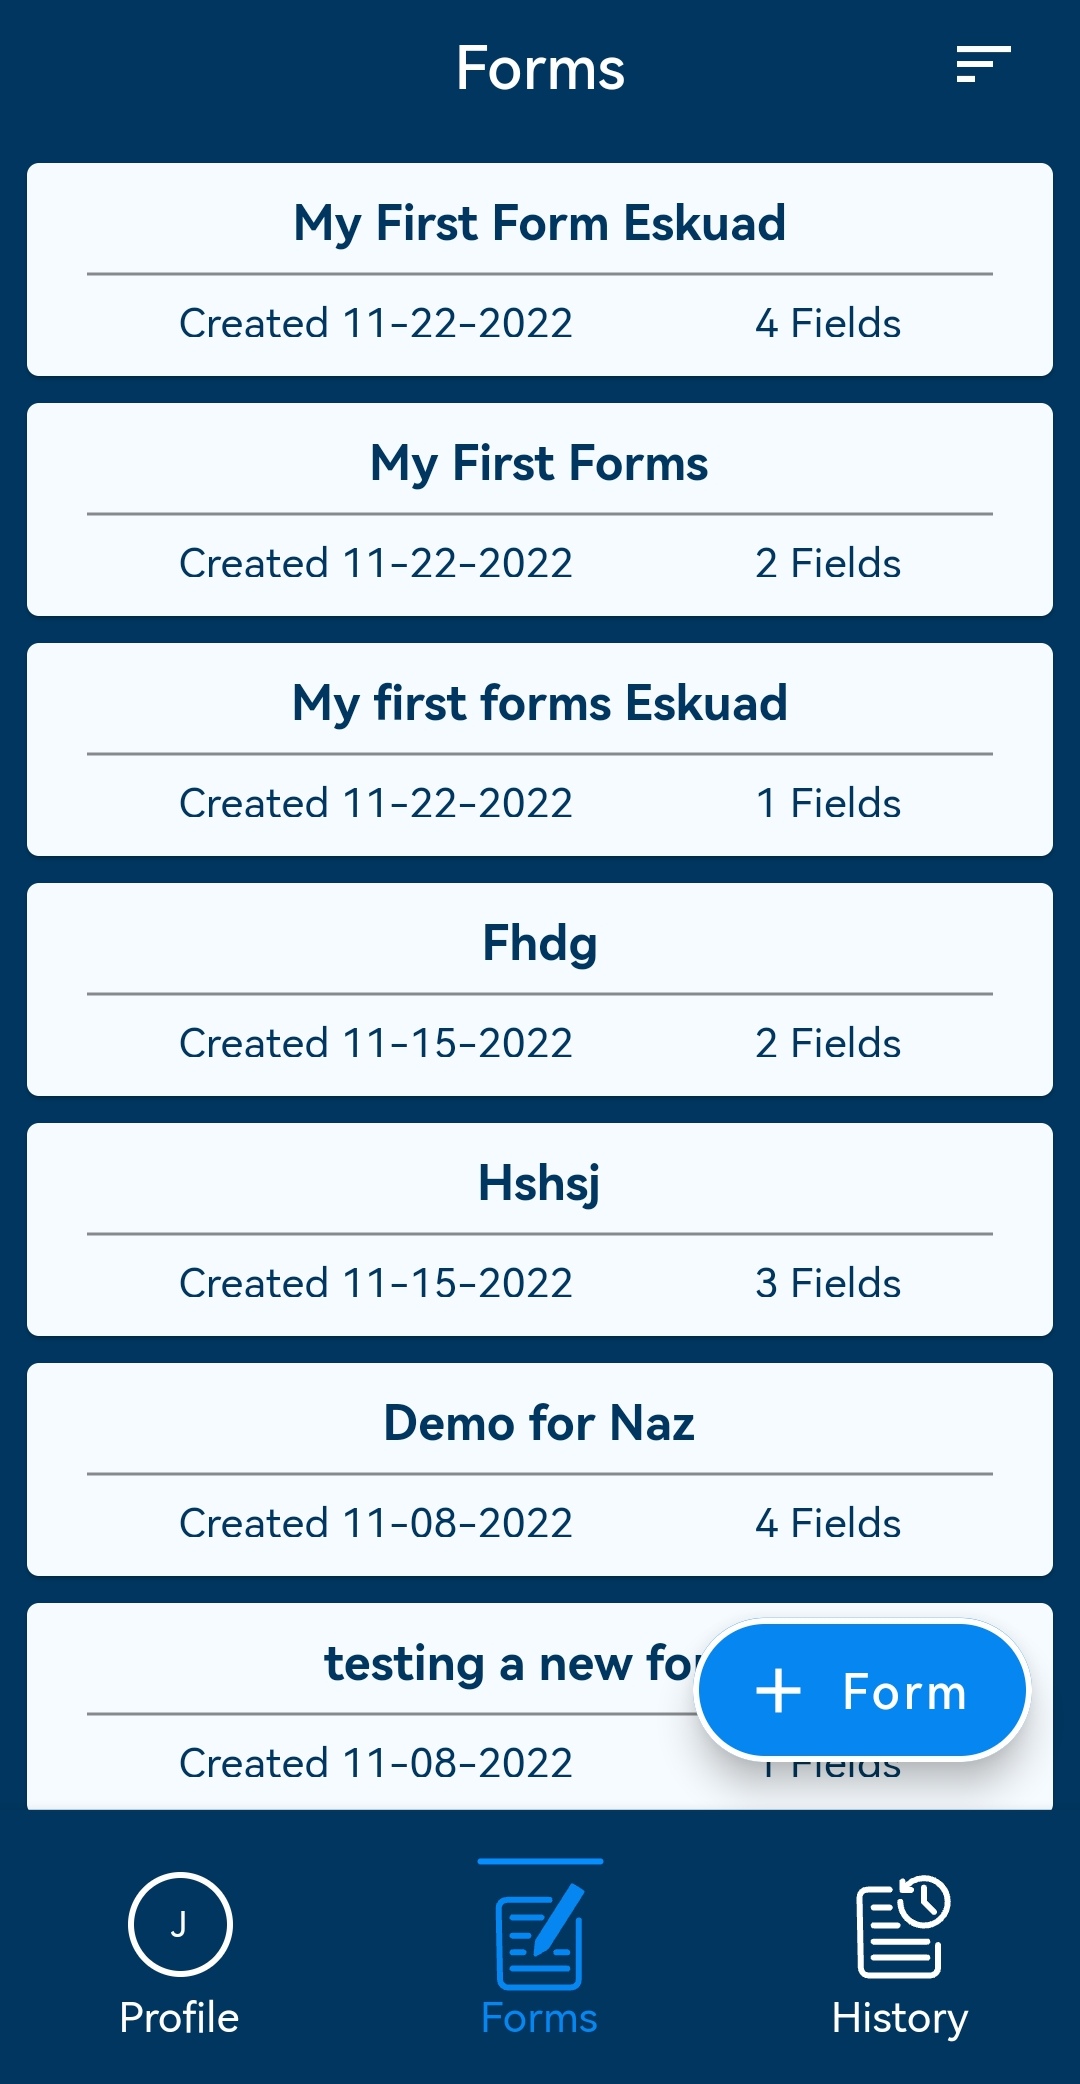
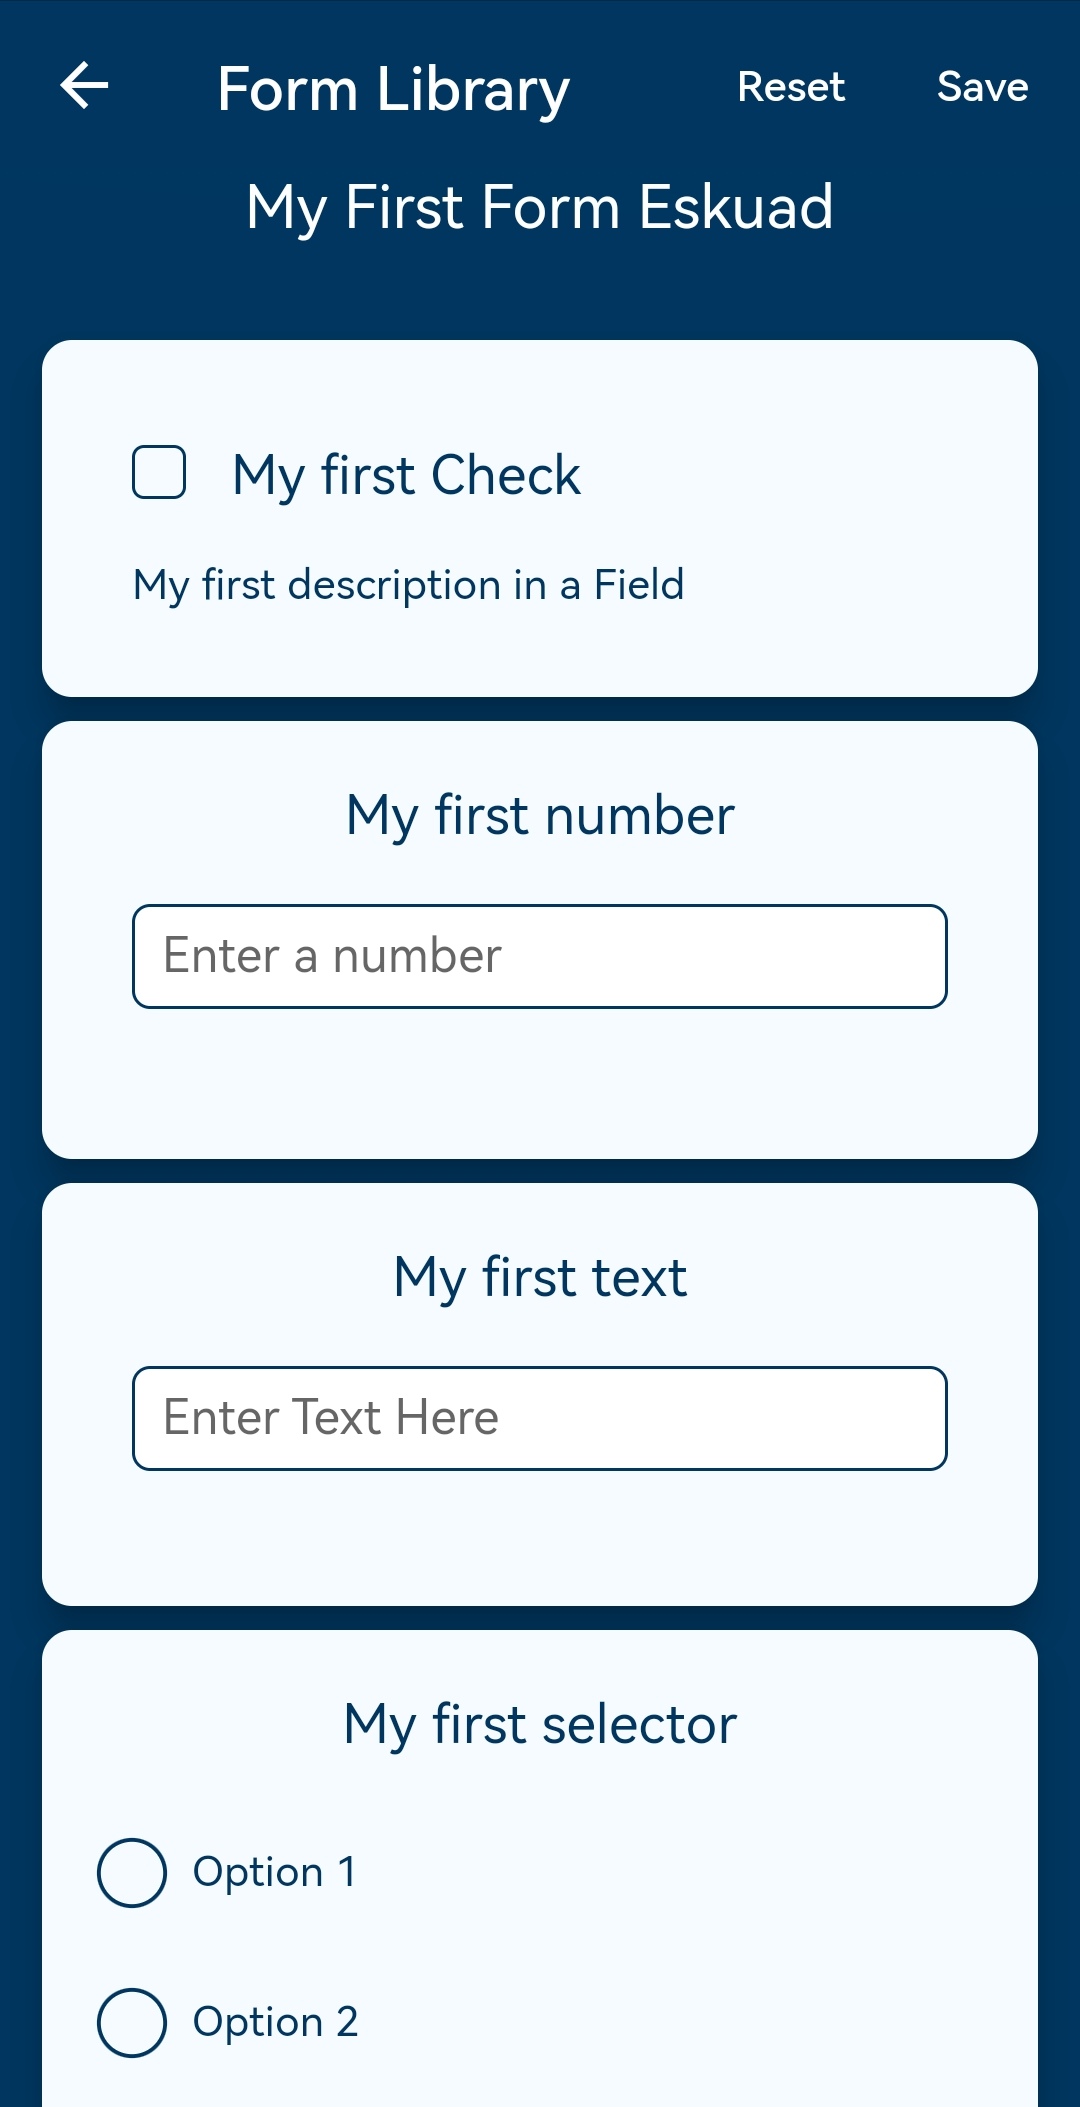
Click on the one of the forms to view and enter data